Instructions for Orange Line, Blue Line and Green Line trains:
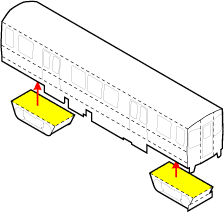
Before cutting out the body of the train, score the fold lines along the edges of the rooftop and where the sides meet the bottom panels of the train car. Note that the electrical boxes at the center of the train hang straight down while the flaps at the ends fold underneath.
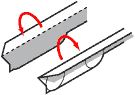
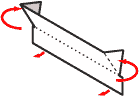
The Blue Line cars have straight vertical side walls, while the Red, Green and Orange Line cars have sides which bulge outward slightly. There are fold lines marked at the ends of the train car which indicate where to score or bend the paper at a slight angle. The line just below the windows is a mountain fold, while the line at the bottom of the doors is a valley fold (see diagram at left).
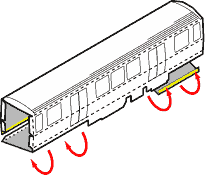
After scoring, cut out the body of the train. Roll or curl the roof of the train against a round pencil or dowel to give it a slight curve.
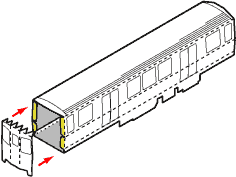
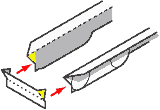
Fold in the tabs at the ends of the car. Fold and glue the bottom panels under the train to create a long, open-ended tube.
|
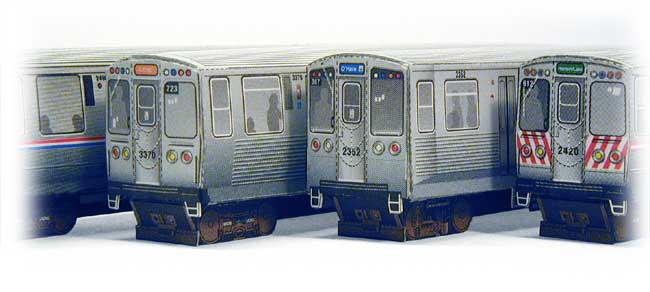 Elevated “L” Train